There’s not much that beats catching fish on a fly you’ve tied yourself, and thankfully it’s not difficult or expensive to get tying and catching. This article will look at the principles behind the saltwater fly and give you some starting guidelines to set you on the path of this addictive pastime.

The rock flybox with some nice eaters. Note the majority of flies are white and fluffy.
The look you’re trying to achieve
Saltwater fish are, by and large, voracious and aggressive buggers, especially when it comes to something small and helpless or annoying. This sets them aside from the more discerning trout, which can reject a fly based on the tiniest imperfection or mismatched colour. For the saltwater fly tyer this is a distinct advantage, particularly when you’re starting out. Your flies can be misshapen and wonky, tied from materials scavenged from the Christmas tree, bound with globs of heat-gun glue. They can, and often do, look like nothing at all that a fish would normally encounter, yet it will absolutely smash them. Why is this? Evidently, fish react to what are called “supernormal releasers”, exaggerated triggers that mimic what is already attractive or provocative in the fish’s environment.

Some very easily-tied flies. The piper at the bottom is more elaborate than necessary. Note the simplicity of the top three rabbit/marabou combos. All are killers.
A useful analogy from the human world is the caricature. A cartoon image of, say, Donald Trump, will emphasise the candy-floss hair, narrowed eyes, and twisted, fleshy mouth. Although not proportionally accurate, it looks more like Trump than Trump himself; and love him or dread him, your reaction to the image will generally be strong and immediate. The same rule applies to the majority of fishing lures. For example, the over-sized eyes and pulsing skirt of marlin lures, the bright colours or furiously vibrating tail of many soft-plastics, and the wounded waggle of a hex wobbler. Essentially, flies replicate the stimuli sent out by prey, so the target fish takes one look and instinctively smashes it.
Four items you will need
Materials aside, there are only four implements that I consider indispensable for saltwater fly tying: a vice, dedicated fly tying scissors, a thread bobbin, and a UV lamp. As you advance as a fly tyer you will probably add many of the myriad tools available.

All the gear you need to get you going: A UV torch ($15-$80), bobbin ($10), cheap vice ($99), and decent scissors ($35-40).
The vice
Your vice is key to the whole operation as it holds the hook securely while you work on it. The first thing to consider is that most of the hooks you will be tying are much bigger than those used by trout anglers. What you need is a vice that can handle hooks from about size 4 to size 4/0. Ideally, the vice will be “full rotary”, so that you can turn the fly upside down to work on it without removing it.
There are some beautifully engineered vices from $700 to over $1000. If you find yourself addicted to tying flies these great investments will last your lifetime and provide endless pleasure. However, a starter vice is a lot less eyewateringly-expensive, and the end products catch fish just as well.
hat can handle hooks from about size 4 to size 4/0. Ideally, the vice will be “full rotary”, so that you can turn the fly upside down to work on it without removing it.
There are some beautifully engineered vices from $700 to over $1000. If you find yourself addicted to tying flies these great investments will last your lifetime and provide endless pleasure. However, a starter vice is a lot less eyewateringly-expensive, and the end products catch fish just as well.

Some basic all-purpose materials. Marabou, rabbit, thread, and UV Cure goo, plus a hook and dumbbell head for weight (not pictured) will get you hooked up.
Scissors
This is one tool you want to spend a bit on. You really can’t get away with an old pair of nail scissors; believe me, I’m tight enough to have tried! For around $40 you can get an excellent pair of 10cm Razor Scissors, marketed in NZ by Pat Swift, and also sold under the Dr Slick brand. My three-year-old pair is still exquisitely sharp. A tightening nut keeps the blades super-close, and allows the two blades to be separated for cleaning out accumulated gunk. The critical thing with scissors is to keep them solely for cutting thread, fur, tinsel and the like. Don’t use them to cut wire or paper.
Bobbin
The fly tying bobbin is made from sprung wire in the shape of a V. The two legs of the V are tensioned to grip your reel of thread, and a short hollow tube at the apex of the V carries the working end of the thread. Your bobbin can be cheap, as befits its simplicity. I’ve been happily using the same $10 bobbin for 25 years, though from time to time the legs need to be bent in for a tighter grip on the thread reel. On rubbishy bobbins the legs-to-thread tube weld can fail (look closely for weaknesses and bubbles). A high-end bobbin for about $50 is worth it. You might also want to buy a bobbin threader, which uses a loop of fine wire to pull your thread through the bobbin tube. However, a bent length of nylon monofilament or fluoro of 10-20lb breaking strain does just as well.

Another snapper on SWF
UV lamp or torch
A few years ago, UV cure resin hit the fly tying world and changed the game. Previously, we used brush-on lacquer or nail polish to protect the heads of our flies. A bulbous or plump head on your fly needed several layers, extending the length of time involved. A really thick head or body, for a fly such as the beautiful surf candy, needed epoxy or resin. These materials required the use of a drying wheel, slowly rotating the fly over several hours for an even finish.
Then along came UV cure resin. This stuff is fantastic. You simply apply it as you want it, hit it with bright UV light, and it hardens like glass. It allows you to attach eyes to your flies with speed and permanence, and lets you build up chunky body parts and heads on fish and crustacean patterns. The resin producers generally recommend an excessive 8 seconds’ drying time; in my experience, the magic happens instantly. I have been using “Tack free brush clearcure goo” for the past two years and it has proven an excellent product. $40 for a small bottle isn’t cheap, but it stretches a long way. I am still on my second bottle after tying 30 big kingfish flies, plus three times as many snapper and kahawai flies.

A nice Central Auckland eater on a white rabbit
The UV lamp itself will set you back between $15 and $80, with a few options in between. I’m still using the UV laser pointer I started with but it fires a very narrow beam, which isn’t ideal. I recommend getting a lamp that has an array of LEDs so you can drench your fly in the UV.
If your lamp gets tacky with uncured goo just leave it in the sun for 10 minutes; the same goes for flies that feel a little bit sticky (although this is rare).

A word on whip finisher tools
When you have tied all your materials to your hook you need to lash the end of the thread to the hook. This can be done with a tool called a whip finisher, which is cheap and effective. However, it is satisfying to teach yourself to do the same job with your hands, the way I’ve done it since I started back in the 90s. Rather than try to explain the process here, I would direct you to an excellent, short video on Youtube called "Buck’s easy way to hand whip finish".
Materials
It’s an unfortunate fact that you won’t save much money by tying your own flies. Every visit to the fly shop will see you walking away with at least one new bag of fluff or feathers to experiment with.
I keep all of my accumulated fur, feathers, foam, and tinsel in an old set of file drawers, and none of the drawers opens easily due to the material jammed in.

The writer with some nice Waiheke winter fish on simple white rabbits
Essential Materials
You don’t need a lot of materials. My favourite feathers and fur for snapper/general purpose saltwater flies are marabou and rabbit, both in white. Add some dumbbell lead heads for weight, and thread (any colour is fine), and you are on your way. A few other key materials will set you up to cover most of the bases of the NZ Saltwater fly scene. Here is a breakdown of the main products you should look for when getting started.
Marabou A soft, light, downy feather material from the breast of birds, usually turkeys. It has exceptional movement in the water, even when the fly is resting on the bottom; hence stationary flies often get smashed. It tends to get slimy and bloody after a few fish, but this can be removed with shampoo and warm water.
Rabbit Bunny fur has almost as much movement in the water as marabou, but is much longer-lasting. The majority of my snapper and several kingfish have been caught on rabbit fur flies.
Bucktail Sold as an entire deer tail, white around the fringe with a central patch of brown. Slim and fairly stiff, it suits flies designed to be fished with a jerky, leaping motion, such as the clouser minnow. A little bit of bucktail goes a long way; just a small pinch of hairs for the “wing” of the fly. In red colour it makes excellent squid flies for kings and snapper.

Jack Lusk with a nice winter eater on a white rabbit
Barred hackle feathers These are long and thin from the nape of a rooster. I tie them down the fly flanks, from the head to beyond the bend of the hook. The bars simulate the stripes down the backs of desirable prey species such as kahawai and blue mackerel.
Flashabou and EP fibres One of my favourite kingfish flies is the piper. At its simplest, long strands of white fibres with some flashier tinsel tied on the upper half of the fly; plus a pair of eyes. These create an excellent piper imitation.

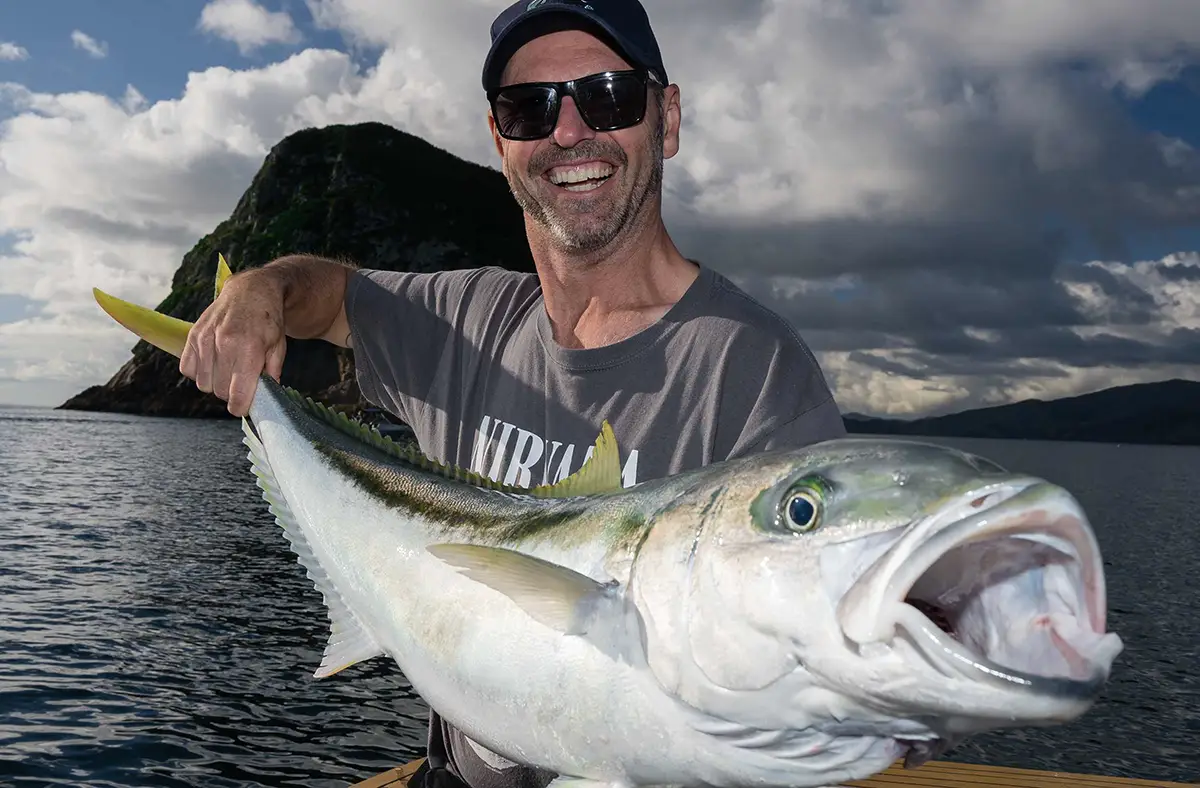
A nice king from the rocks on a simple snapper rabbit
Final thoughts
Hopefully this has given you some tips and starting points for getting in to fly tying. Don’t be too bothered if your first flies look wonky and hideous. As long as you have ticked the boxes of movement, eyes, flash, and other key supernormal stimuli, you’ll find the fish don’t mind how ugly your flies are!